Lion Rampant tile
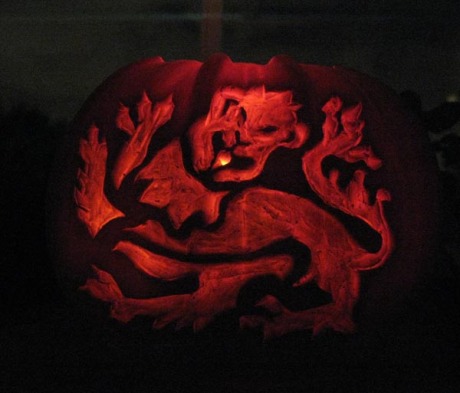
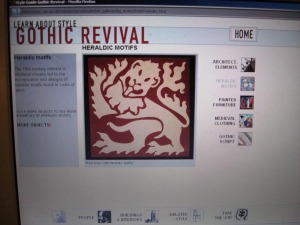
A few days ago we bought a very small pumpkin and I spent a couple of hours carving it. I don’t usually like to do faces, so I tried to find a good design that was visually pleasing and semi-Halloween-like, but not using the usual scary face or ghost or haunted house theme. Last year I picked a stylized design of a wheat sheaf and really loved the result, so this year I wanted to do something similarly stylized. I chose a gothic revival image of a lion rampant, from a ceramic tile at the V&A. It’s got a face that’s sort of demon-like, so the Halloween theme is still there, and the claws look pretty fiery and scary. It was a great design to choose because it only had about 7 different areas to cut out but they all had some visual intricacies so I could really test my skill with the knife.
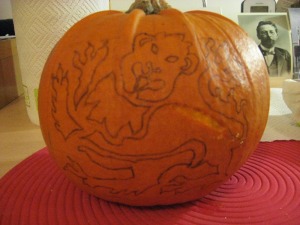
Inked lion rampant on pumpkin
After inking the picture onto the pumpkin (I did it freehand with just a regular ballpoint pen), I got an X-Acto knife (evidently it’s called a Stanley knife here in the UK) and used only the very tip of the blade, scoring cross-hatches in all the areas I wanted to remove. Then I used one of my jewellery files (I probably shouldn’t ever use it for jewellery again!) to gouge out the sections I’d scored. I could have used a vegetable peeler tip, I guess. The little pieces came out pretty easily and I didn’t gouge too deep – about half a centimetre. After I finished the carving, I cut off the top of the pumpkin and scraped out the seeds. Light didn’t show through the design well enough, so I thinned out the wall of the pumpkin from inside with a spoon – much easier than digging deeper into the design.
I did it a few days ago so now it’s starting to wizen a little, but it should still be fine for tomorrow night!
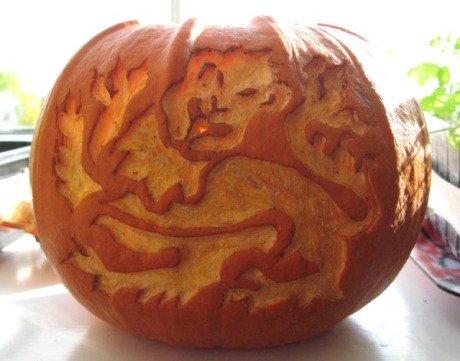
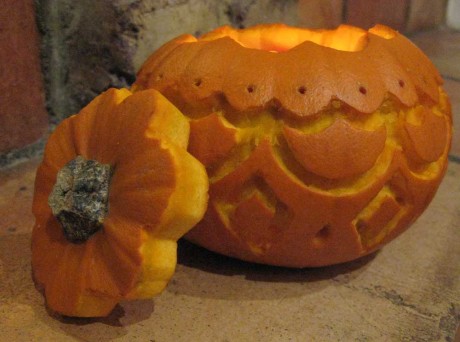
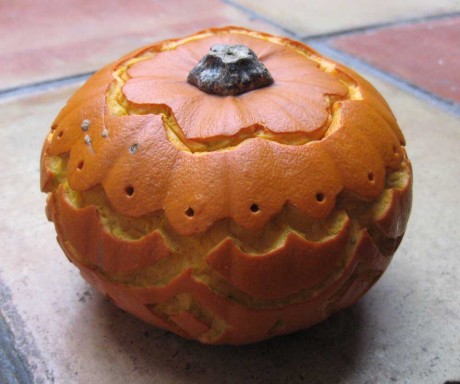
The finished pumpkin - in the daytime
